How To Change A NATO Watch Strap
In this article
Changing a NATO strap is a back-side job: seat the spring bars, thread the nylon through the lugs and keepers, and center the watch head between the keepers. On most nylon setups the spring bars stay in place, so the strap goes on without fighting the front of the watch.
What Makes A NATO Strap Different
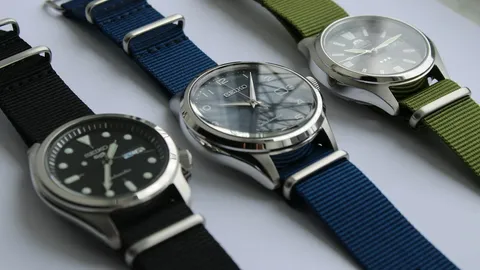
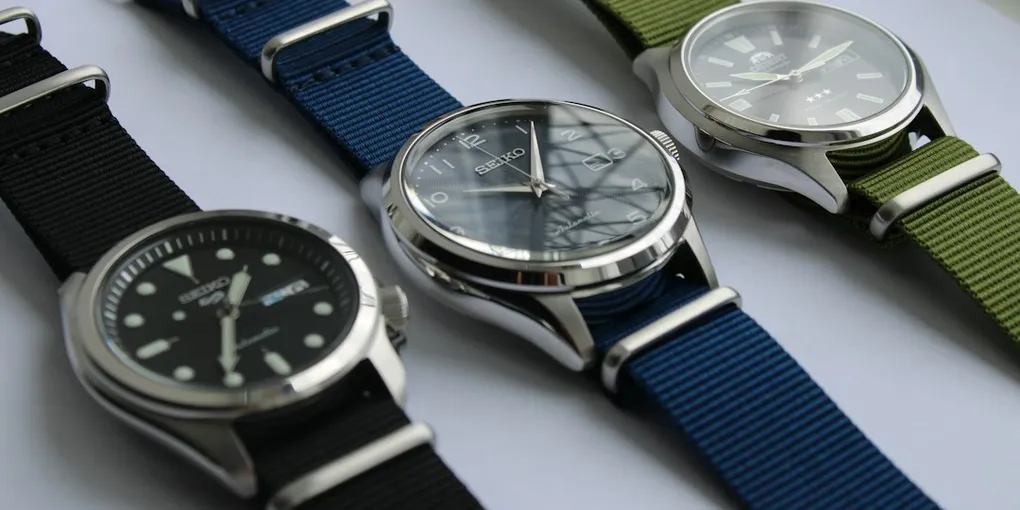
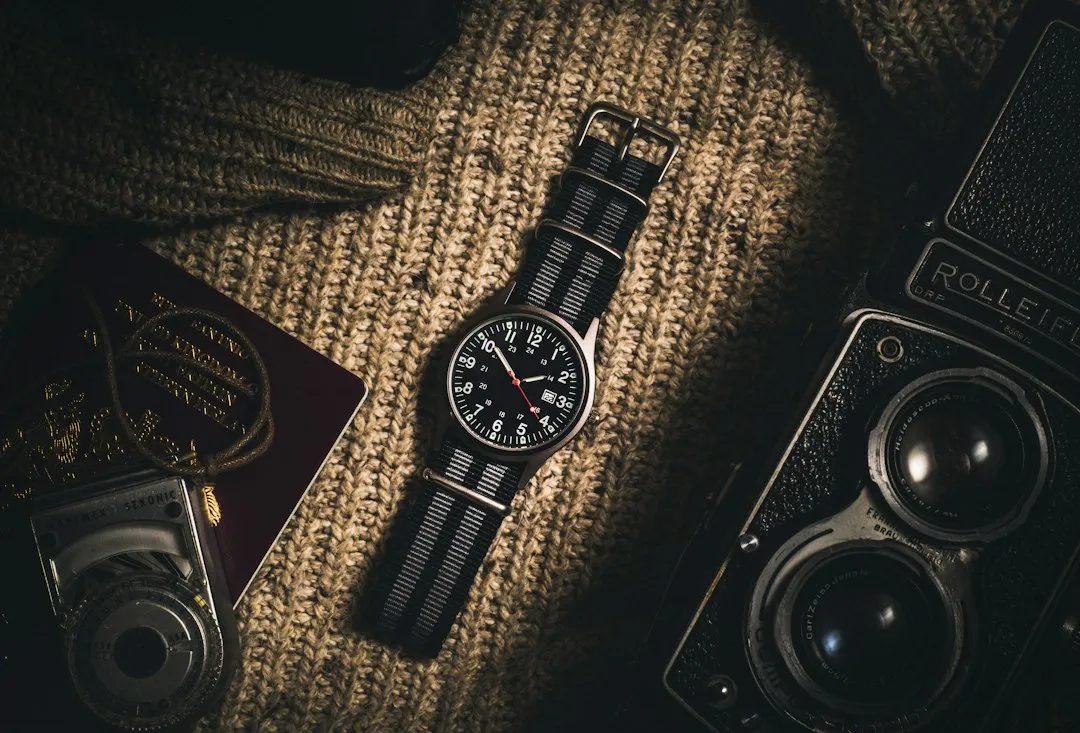
The NATO strap was originally designed for the British military. It is made from strong nylon and threaded underneath the watch. A typical strap has two pieces—a longer section and a shorter one with a buckle. That construction matters during installation because you are not simply pinning two leather ends to the lugs; you are routing the long section through both sides of the case.
If you are comparing this setup with other materials, Rubber Vs Leather: Which Strap Wins? puts the trade-offs in context. For a general overview of the swap process, How To Swap A Watch Strap In Two Minutes is a useful companion.
Tools, Surface, And Work Position
A spring bar tool is the required tool for installing a nylon NATO strap. You can also use a spring bar tool or a small flathead screwdriver, along with the watch and the NATO strap itself.
Set up on a nice open surface such as a kitchen table. Lay down a towel to protect the watch and keep things from rolling away. Small parts have a way of disappearing, and a towel gives you a soft landing zone.
Always work from the back, or under side, of your watch. This keeps your work oriented on the underside of the case and gives you a clear view of the lug holes and the bar’s ridge.
Installing A Nylon NATO Strap
Seat The Spring Bars
Seat one end of the spring bar into the lug hole, then compress the other end with a spring bar tool by grabbing the ridge. Make sure both ends seat properly. Repeat with the second spring bar. This is the foundation of the whole installation; if a bar is only half-seated, the strap will never sit correctly.
Separate The Two Layers
Pull the long part of the strap out of the floating keeper so the two layers are separated. This step does not apply to 3-ring or single-layer straps, which lack that second layer. On a standard NATO, separating the layers gives you room to thread the strap without dragging the whole length through at once.
Thread At 12 O’clock
Insert the long end of the strap between the spring bar and the watch case from the top side towards the bottom side. Another way to picture it is to insert the long end through the top spring bar, closer to 12 o’clock. Pull it all the way through.
Thread At 6 O’clock
Continue threading the strap through the other spring bar from the bottom side towards the top side. Pull the strap underneath the watch case and thread it through the bottom spring bar near 6 o’clock. Pull tight once the long end emerges.
Close And Secure The Strap
Pull the strap through the shorter end with the buckle. On a standard multi-layer NATO, pull the strap back through the second layer keeper; skip this on 3-ring or single-layer straps. Tuck any excess strap into the additional keepers provided on the NATO strap.
Center The Watch Head
Adjust the watch head on the strap so it is centered between the keepers. A NATO can sit slightly off-center if you stop before this final adjustment, especially after pulling the nylon tight.
Switching, Removing, And Leather Notes
Changing between NATO straps is easier than the first installation. Follow the installation steps in reverse; the spring bars can stay in the lugs. That is one of the practical advantages of the nylon design.
If you are removing a leather, rubber, or similar strap, the procedure changes. From the back side of the watch, insert the forked end of the spring bar tool between the strap and the watch lug. Apply pressure inwards towards the strap to compress the spring bar, and apply downward pressure so the bar pops out.
Leather NATO straps need more care. Remove the spring bars from the watch to avoid damaging the leather surface if pulled through. The same approach is also preferred for nylon straps being installed on a watch with minimal clearance between the spring bars and watch case.
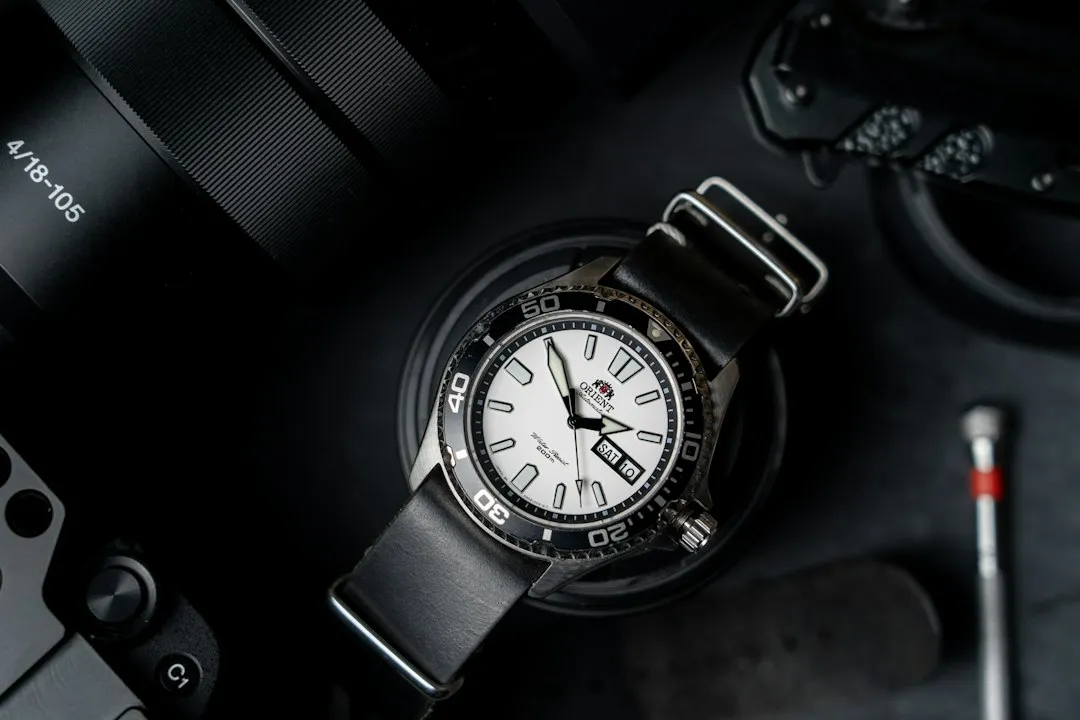
To fit a leather NATO, separate the two layers by pulling the long end through the floating keeper. Place the strap within the lugs, oriented and positioned properly. Working from the back side, compress and re-install the spring bars into the lugs. Then pass the long end through the floating keeper again.
When fitting a leather strap with a short end and a long end, the short end goes on the top of the watch at the 12 o’clock end, and the long end goes on the bottom at the 6 o’clock end. Leather rewards a little maintenance, too; How to Care for a Leather Watch Strap: A Collector’s Guide covers cleaning and conditioning.
For tool-watch context, Dive Watch Buying Guide: What Actually Matters and Field Watch Buying Guide: The Forgotten Tool Watch are both useful reads. And if you want a quick, low-stakes way to test your watch-spotting eye after the strap is fitted, the daily challenge at Watchdle is worth a look.
FAQ
Do I need to remove the spring bars to install a NATO strap?
Not for a typical nylon NATO. You seat the bars and thread the strap around them. The exception is leather, where removing the bars prevents the leather from being scraped as it passes. The same removal is preferred for nylon when the case and spring bars leave very little room.
Can I change between NATO straps without removing the spring bars again?
Yes—reverse the installation sequence. The bars can stay exactly where they are when you move from one NATO strap to another.
Which end of a leather strap goes at 12 and which at 6?
The short piece sits at the top, at the 12 o’clock side, while the long piece belongs at the bottom, at 6.
What tool is required for a nylon NATO installation?
A spring bar tool is the required implement. A small flathead screwdriver can serve as an alternative, but you will still need the watch and the NATO strap.